DIY How to Build: Undercurrent Hydroponic System
Step-by-step building instructions to make an Undercurrent hydroponic system that works great for growing cannabis plants.
Preface
When I did my first grow with DWC, I soon realized there were some things I wanted to change on the next go around. I wanted to Scrog, and I didn’t want to have to move the plants to change water or check PH and PPM. Also, they got root rot last time, Hydroguard and changing the water once a week kept it in check, but I wanted to not have to change the water weekly either.
I started investigating different methods, and the Undercurrent, or Under Current, method really caught my eye. I liked DWC already, and Undercurrent resolved my issues for the most part. By having the control bucket be where all the water changes and adjustments were done, I was able to Scrog, and by keeping the water moving constantly, I could extend the time between full water changes.
How it works:
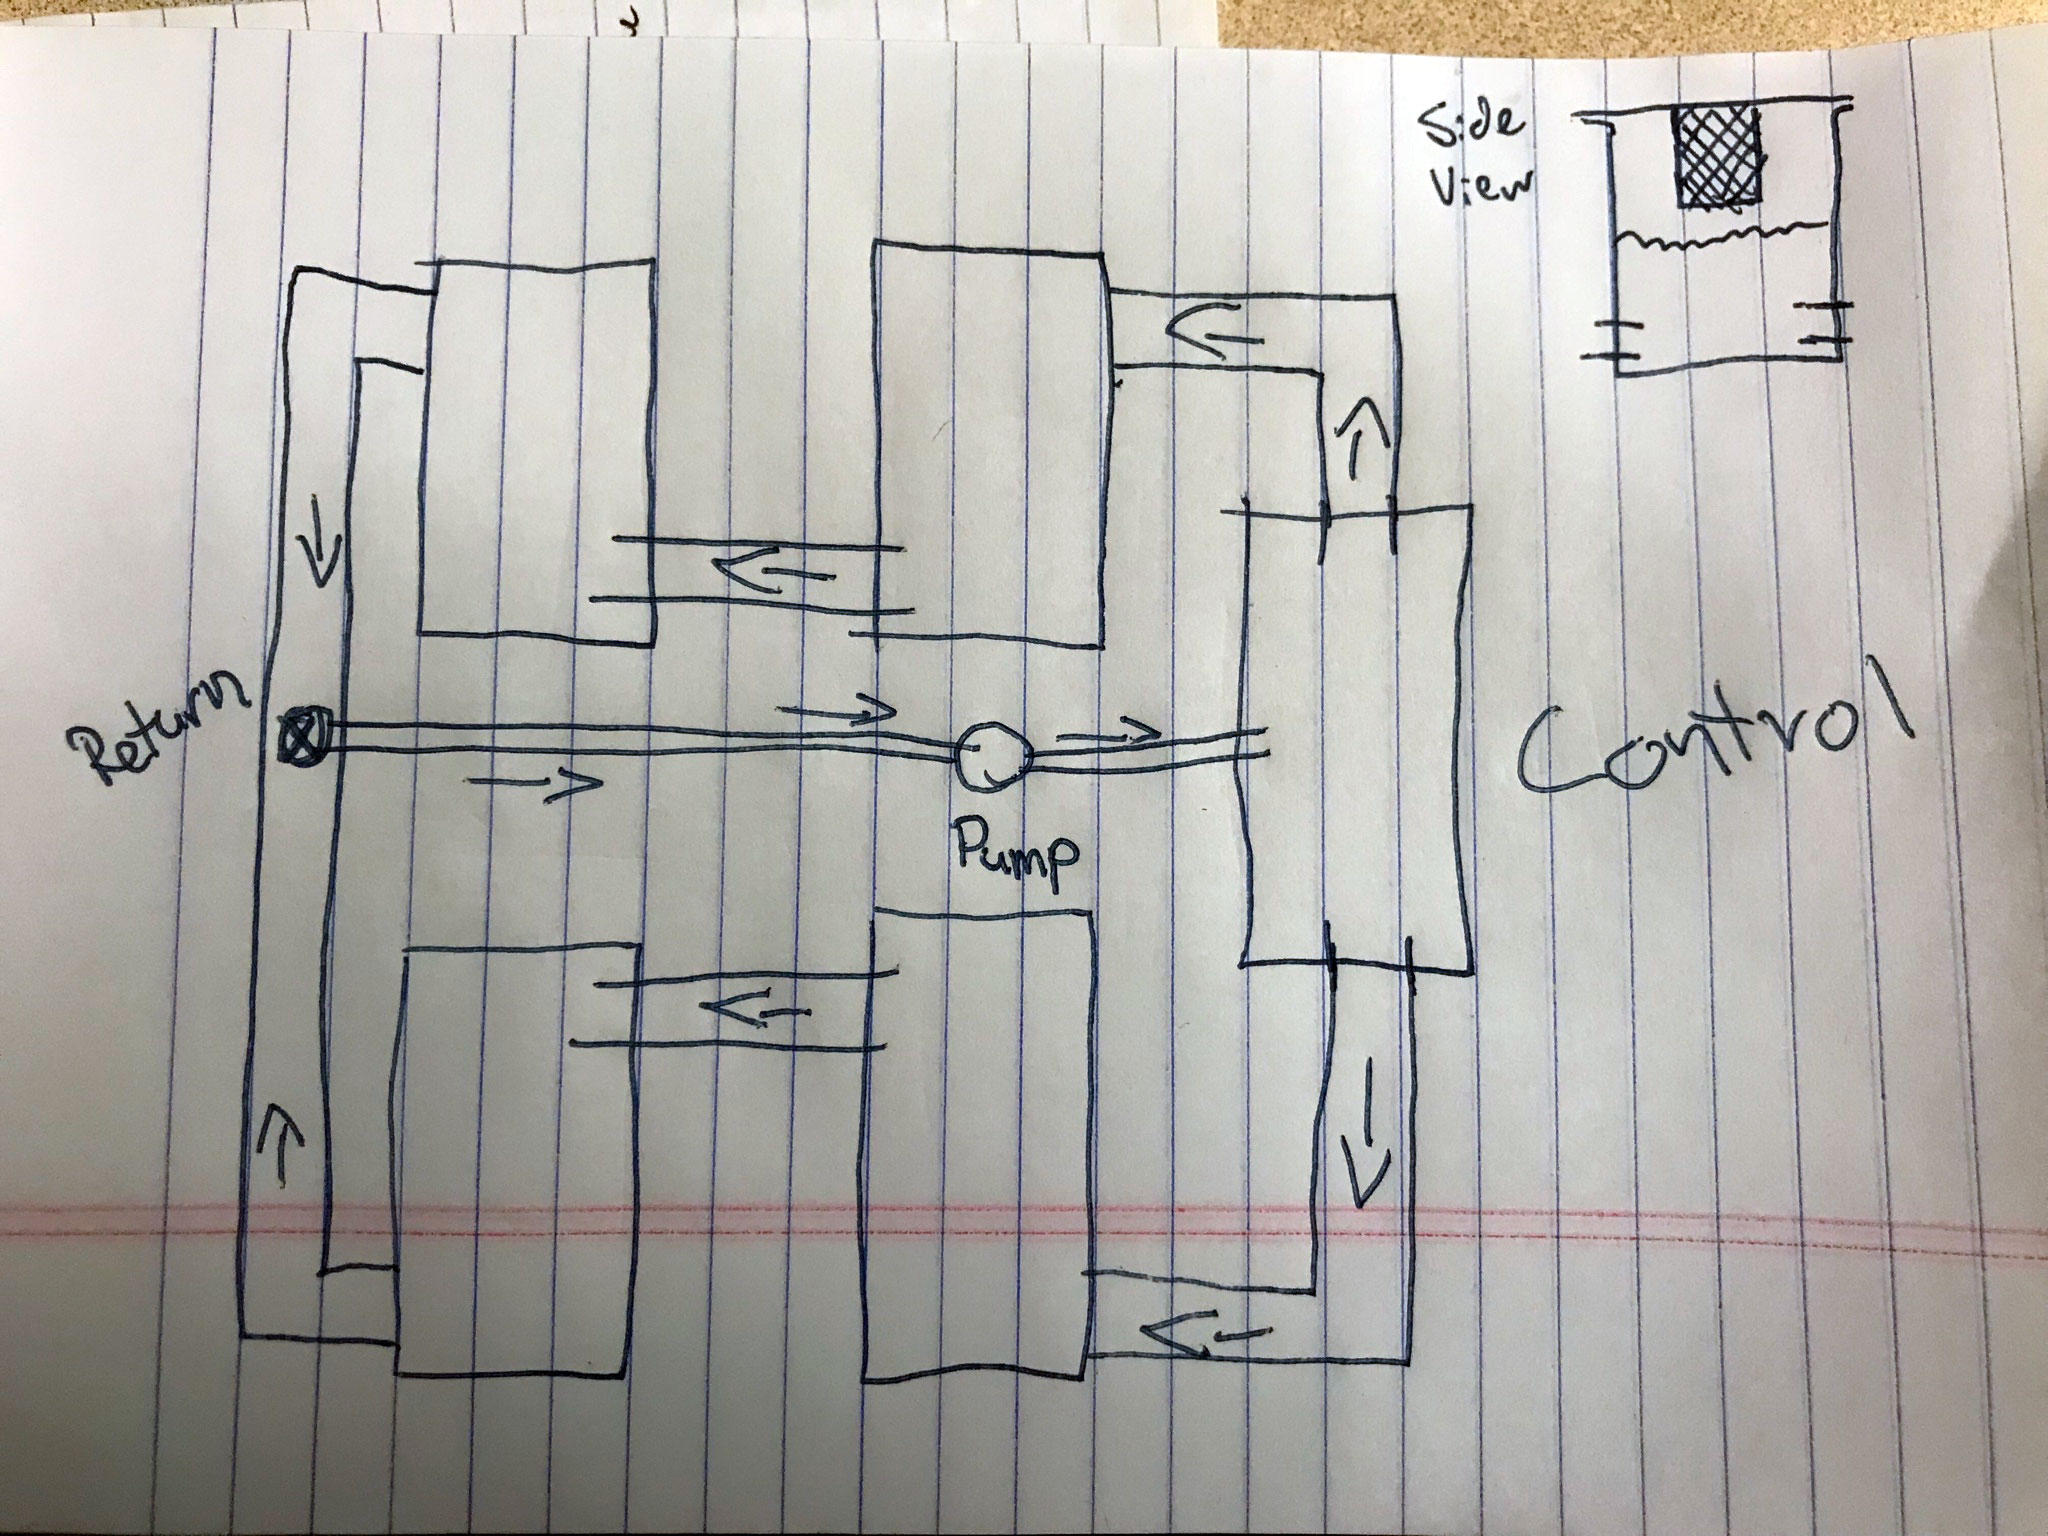
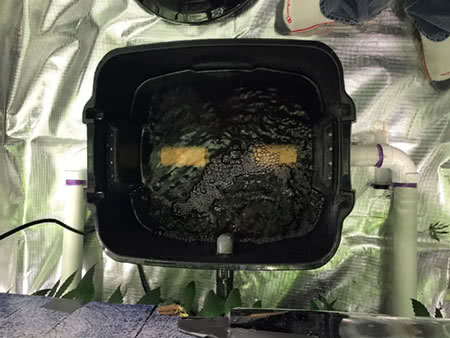
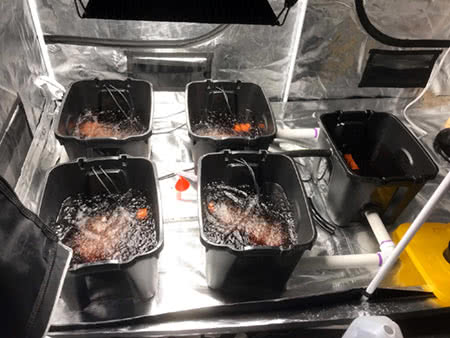
An Undercurrent hydro system consists of buckets or totes, connected near the bottoms by PVC, and then a pump is tied into the PVC and back to a control bucket, so it constantly keeps the water flowing. The plants are in their own totes/buckets, and the control bucket is to work out of.
Materials Checklist
Here are the materials you will need for a 4-site setup. So that’s 4 plant sites and 1 control bucket.
Uniseals vs. Bulkheads
You have two choices for seals, Uniseals or Bulkheads. Bulkheads are more expensive and more permanent. The reason I went with Uniseals is once everything is installed with Bulkheads, you have to cut the pipe and put it in a whole new pipe and bulkhead to expand. For Uniseals, you just pull the pipe out and adjust, and then you can use the same Uniseals and pipe again.
DIY How to Build
Step 1: Drill holes
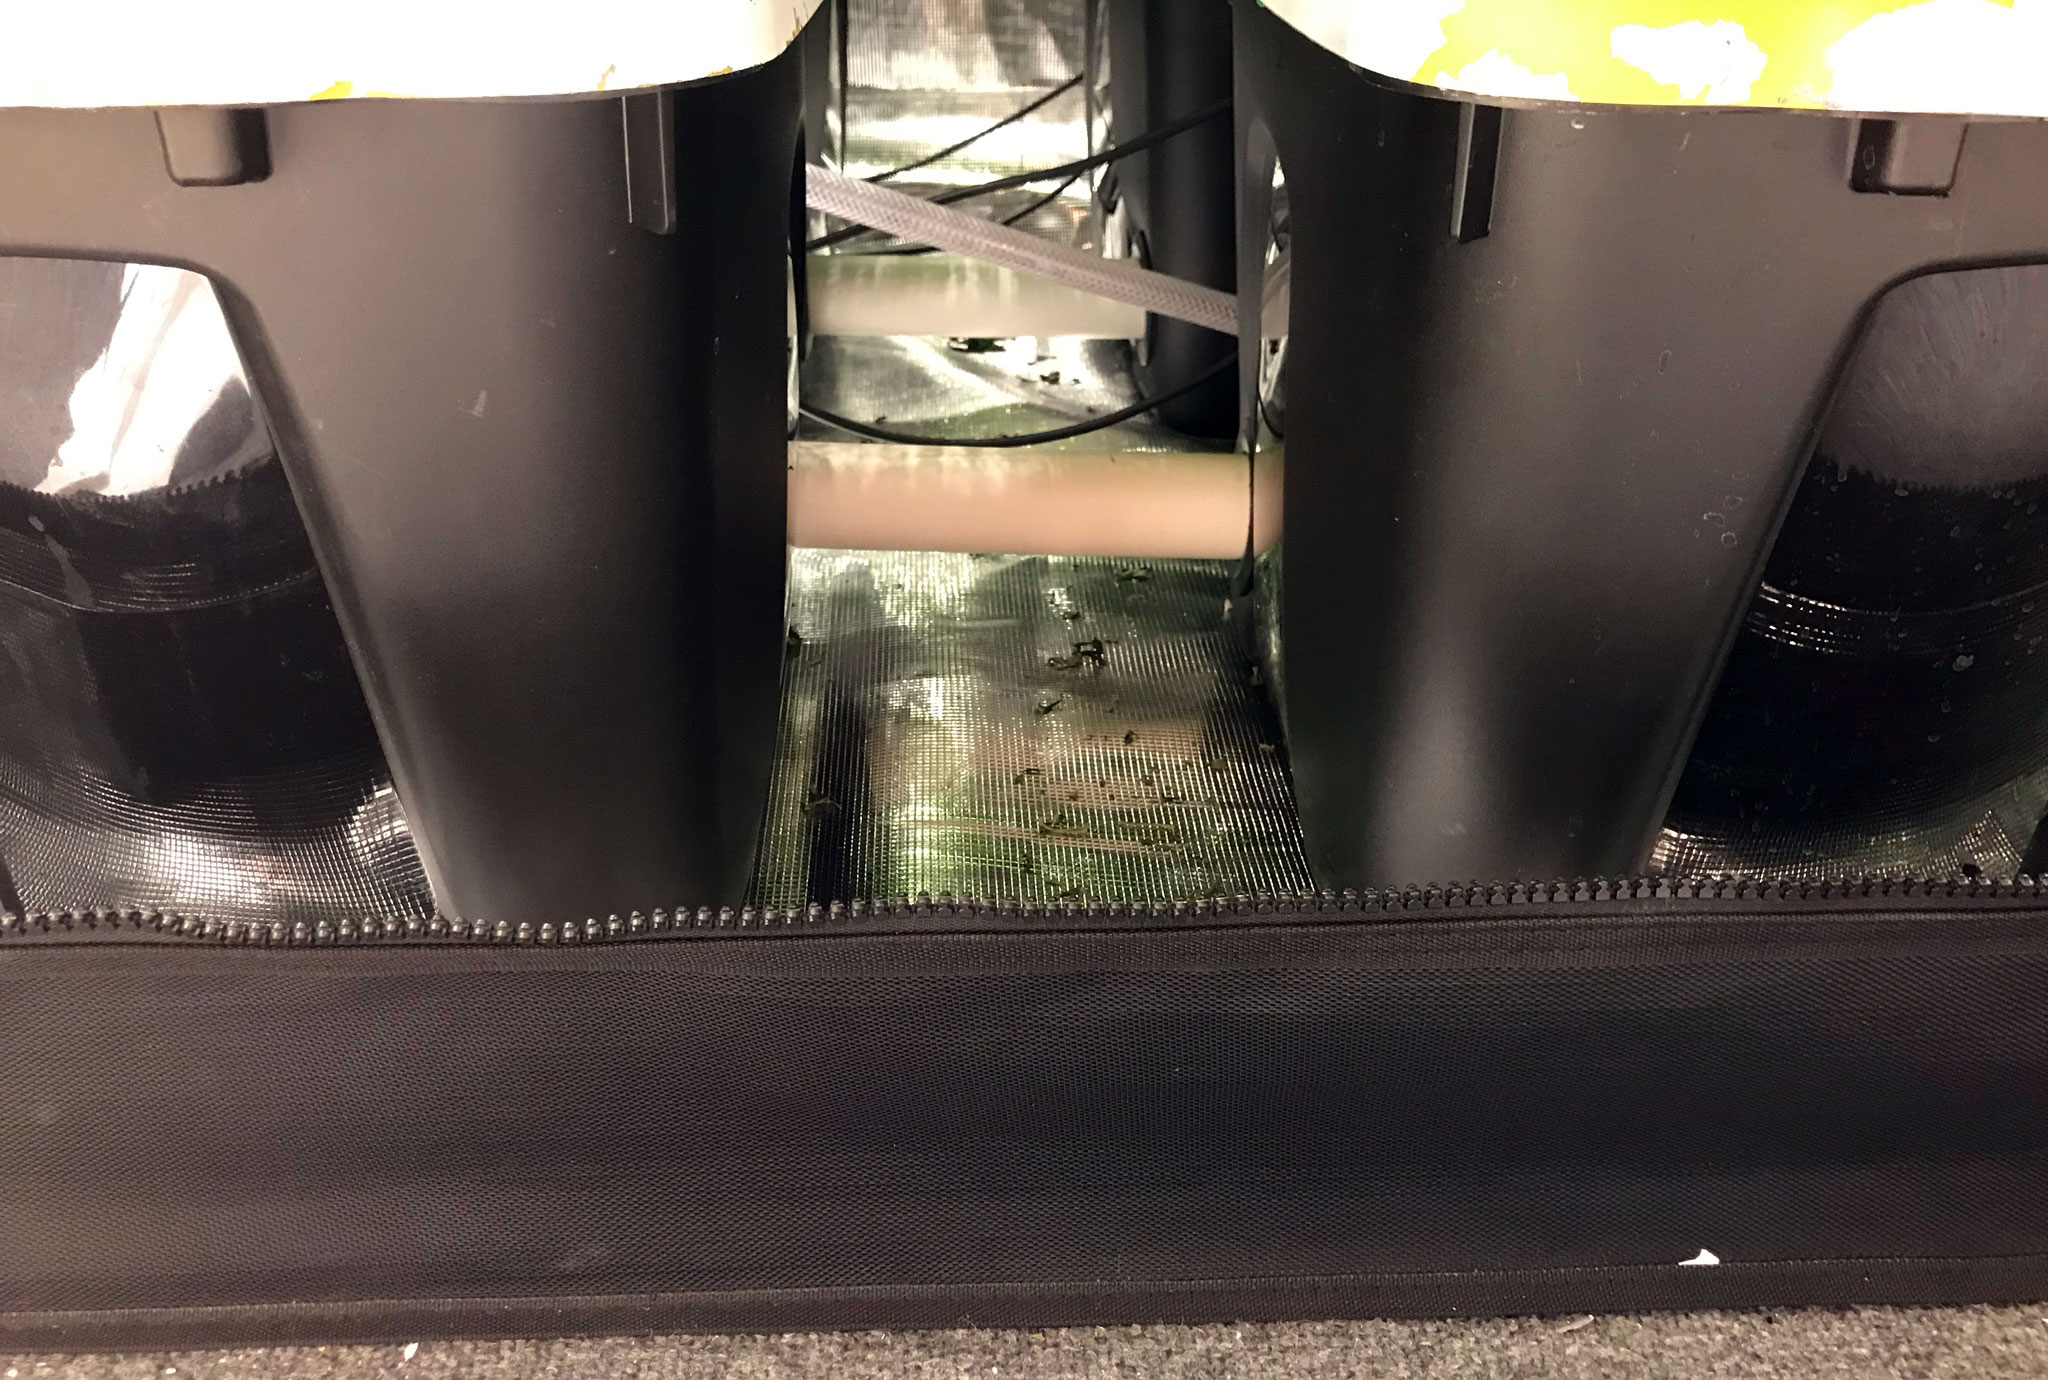
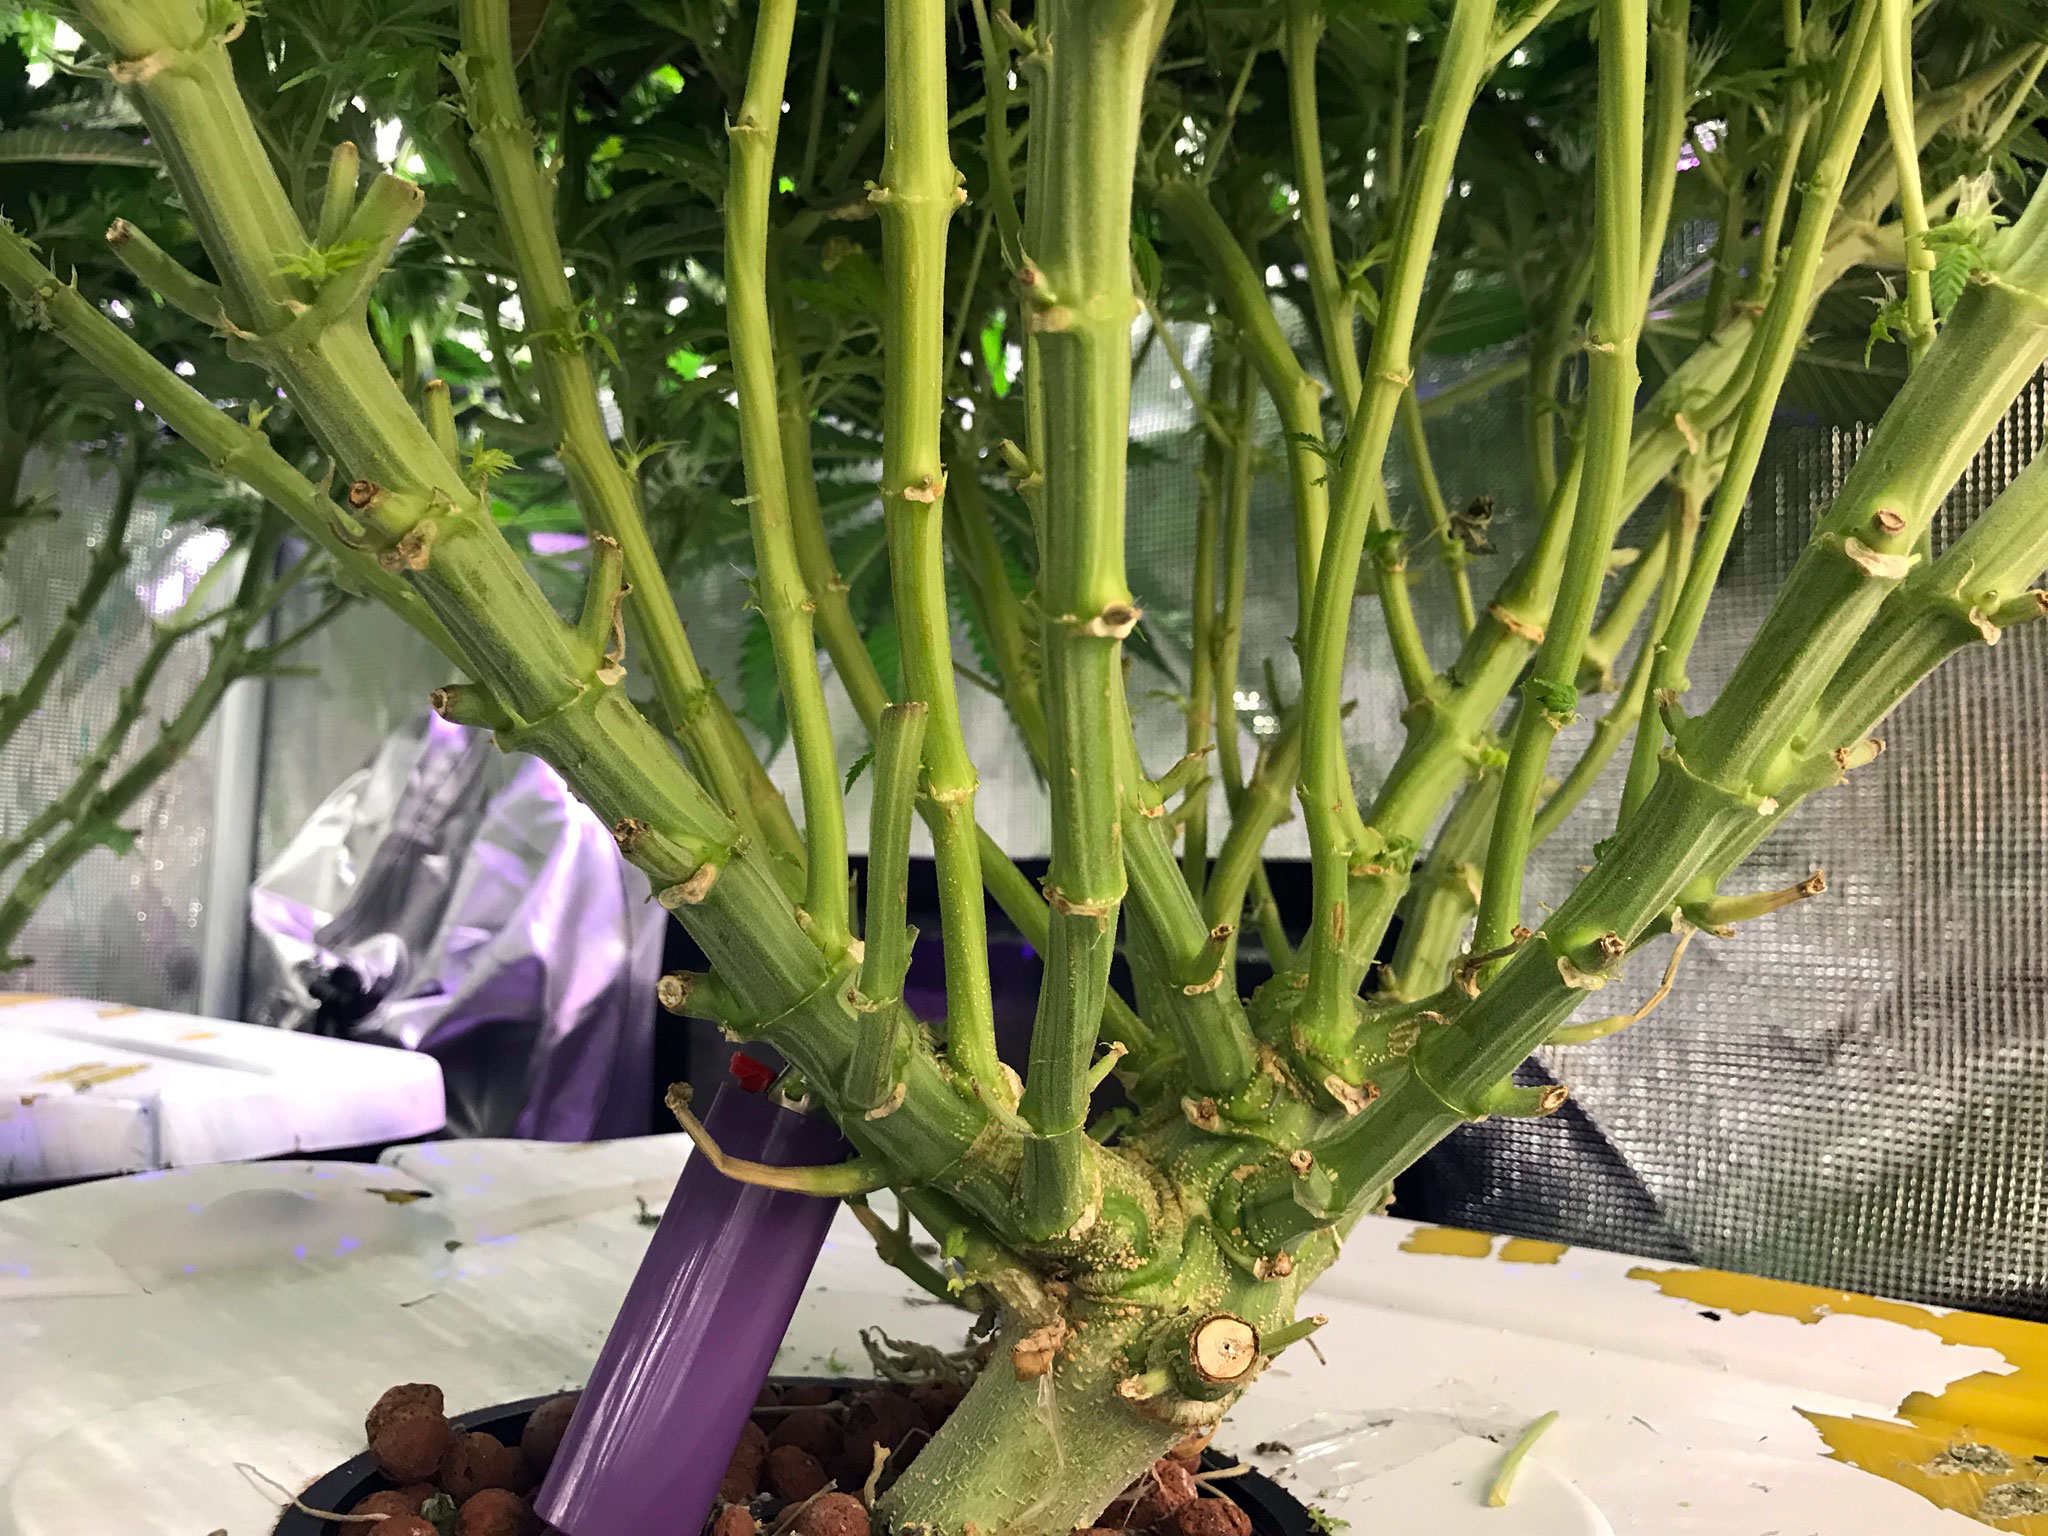
The totes I used were rectangular in shape, so I offset the holes on the tote so it would circulate the water in each tote. I had the hole on the right side on the front, and the left side on the back of one, and the one it connects to was the opposite formation, hole on the left in the front and right on the back (see diagram).
The holes are 2.5” wide to use for Uniseals for a 1.5” PVC. The bottom of the hole for the PVC is 1.25” off the ground. After drilling out the holes with a hole saw (run it backward and it won’t tear the plastic), then go over it with some sandpaper just to get the roughness off and make for a clean seal.
Step 2: Prep PVC
Time to prep the PVC. Cut the PVC to size and glue together the pieces that need to be glued together. After gluing, I had a U-shaped piece for the end, 2 L-shaped pieces for connecting to the Control Bucket, and 2 straight pieces where the totes connected in the middle. You need to drill a hole in the middle of the U-shaped piece for a plastic adapter to be epoxied in so a hose can connect this point to the pump
After getting the PVC prepped, it’s a good idea to rinse it thoroughly to not get PVC debris in the system when you fill it with water. You will want to round off the ends of the PVC for easier insertion in the Uniseals. Spread some dish soap/liquid soap on the PVC ends and insert into Uniseal. It takes some muscle to get in, so don’t feel bad if it’s hard to do.
Step 3: Connect pumps
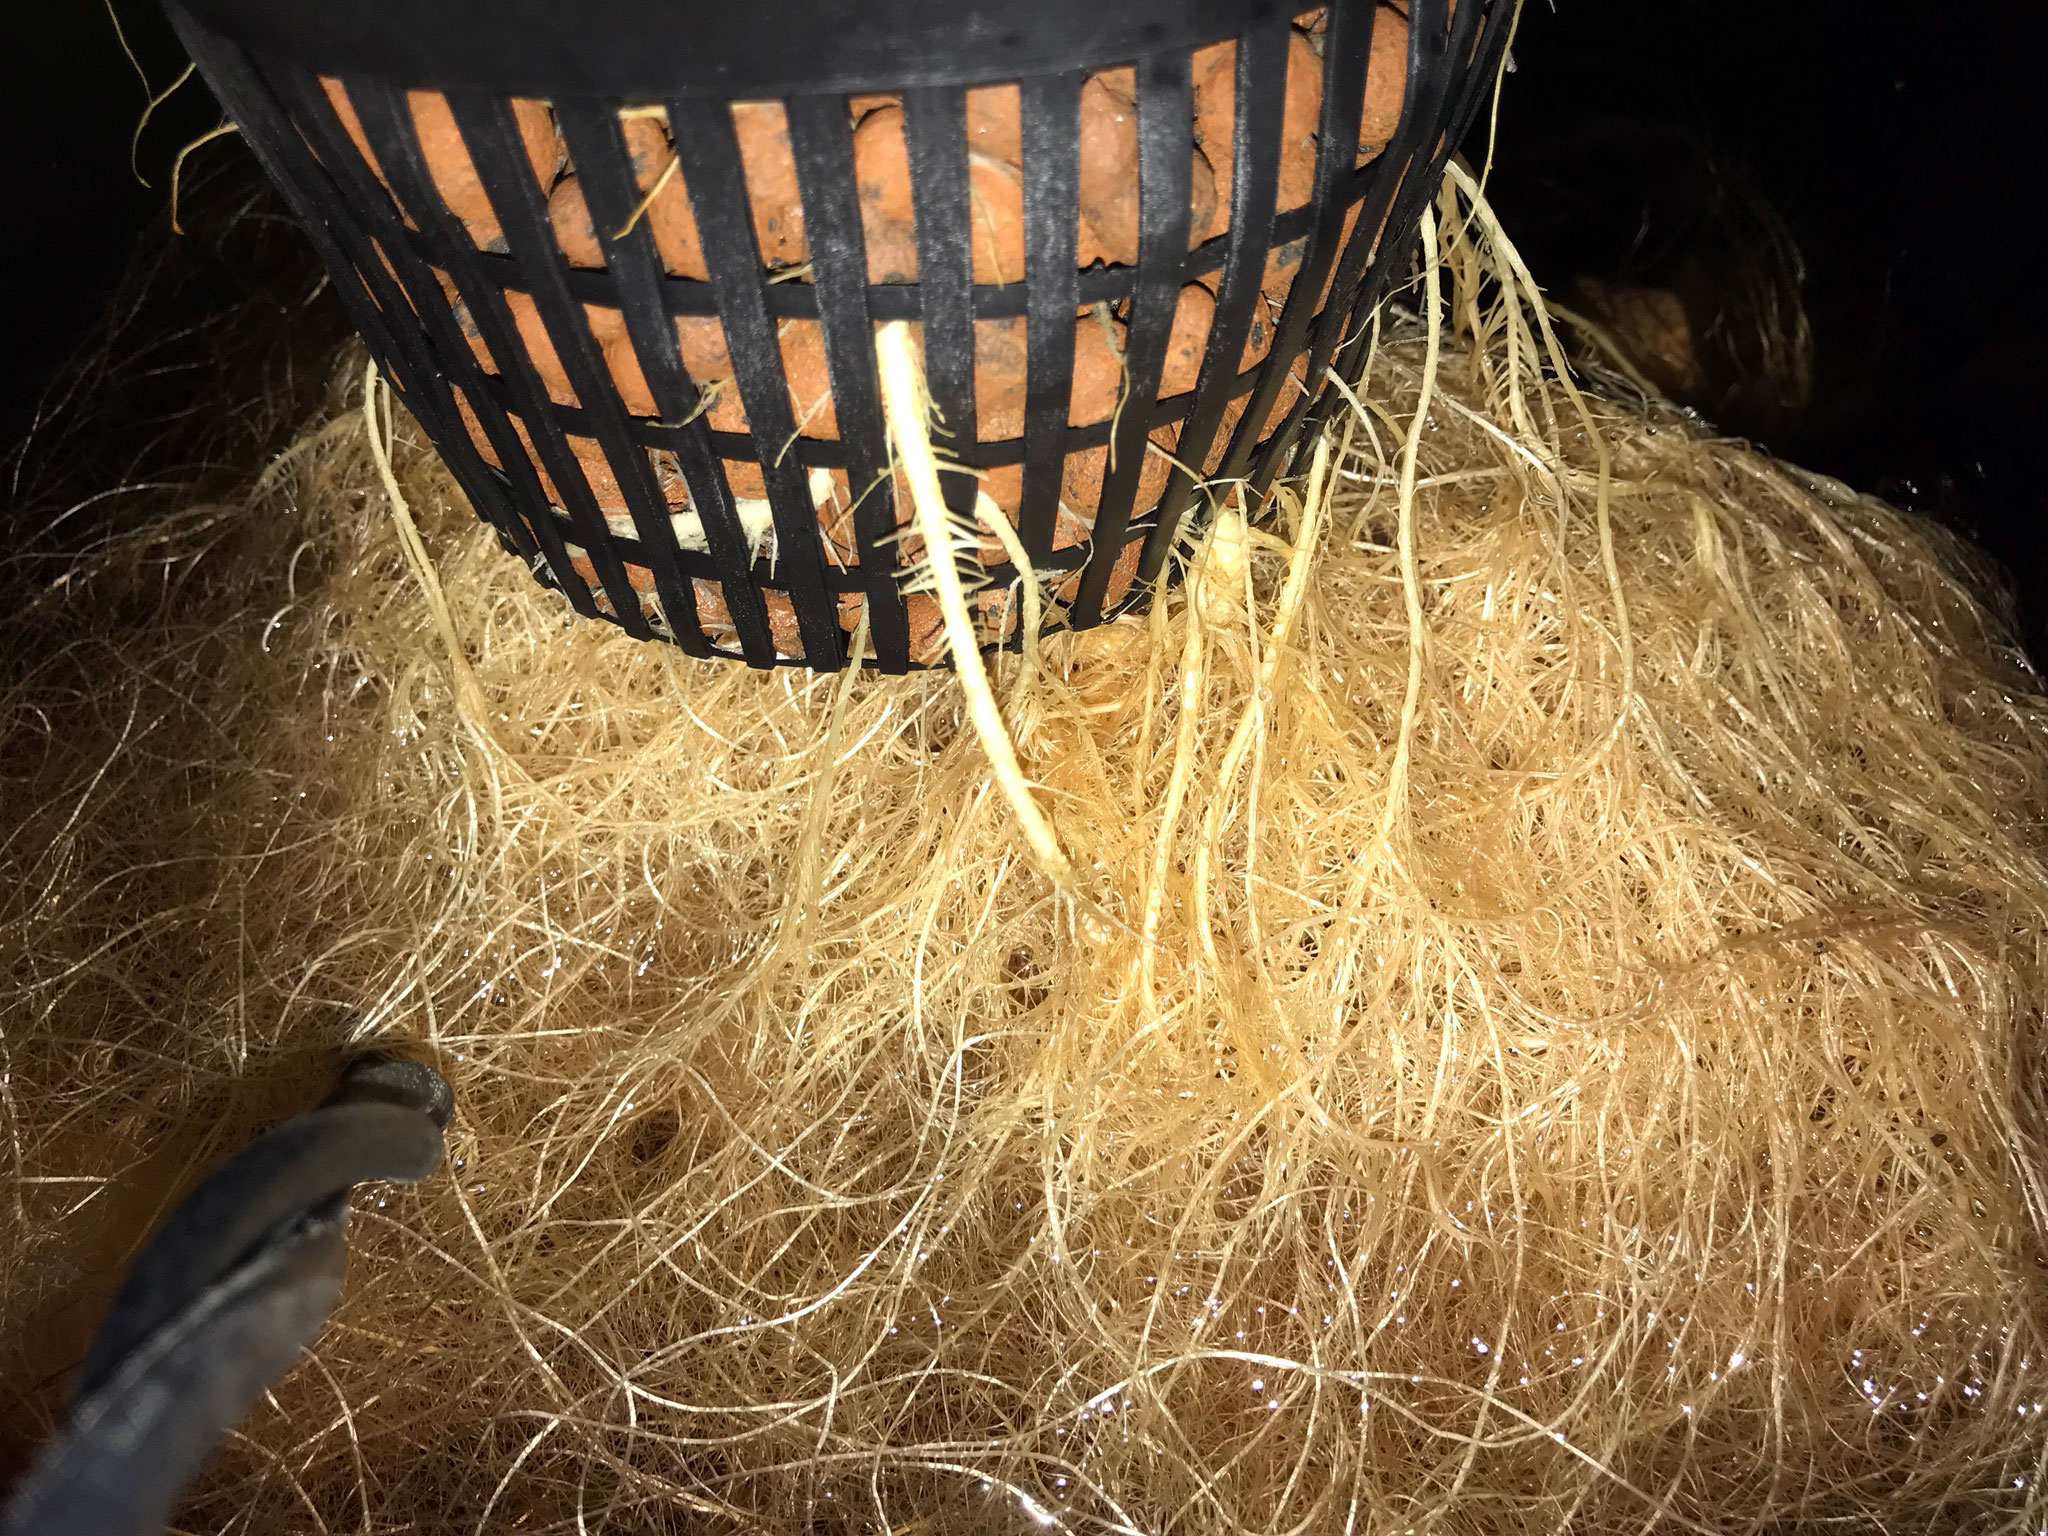
Once you have the PVC installed, it’s time to connect the pumps. I’m using a 550 GPH water pump to circulate my water—it connects to the adapter we installed earlier to the pump, then from the pump into the control bucket. I also have a 1300 GPH air pump connected to 2 air stones per plant tote for a total of 8 air stones. The hoses for the air stones are run through holes near the top of the tote.
Step 4: Modify lids
Now, for the lids, I used a 6” hole saw (run in reverse again) to make the holes. They fit the net pots perfectly. Once you have those made, it's time to check for leaks.
Step 5: Test for leaks
Fill the water up to an inch below the net pots and plug in the water and air pump. Let it run and watch for leaks. I let mine run for an hour but feel free to test until you feel comfortable. I saw a drop or 2 here and there during testing but just left them, and they stopped after a bit. Pretty sure some of the Uniseal just needed time to seat fully.
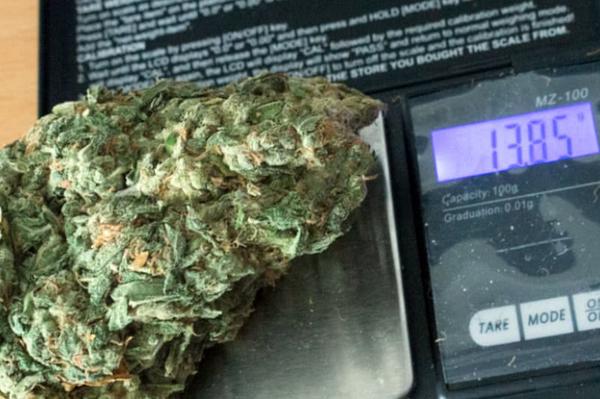
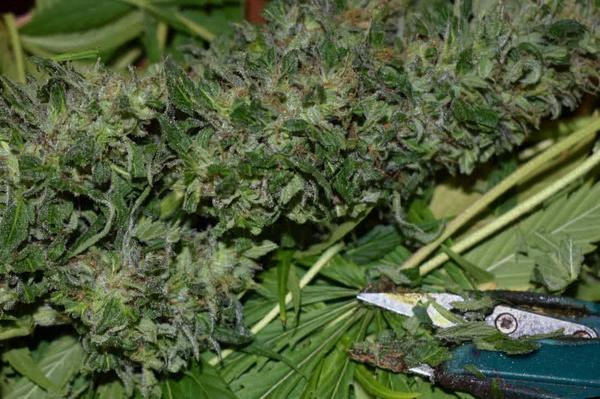
Step 6: Production
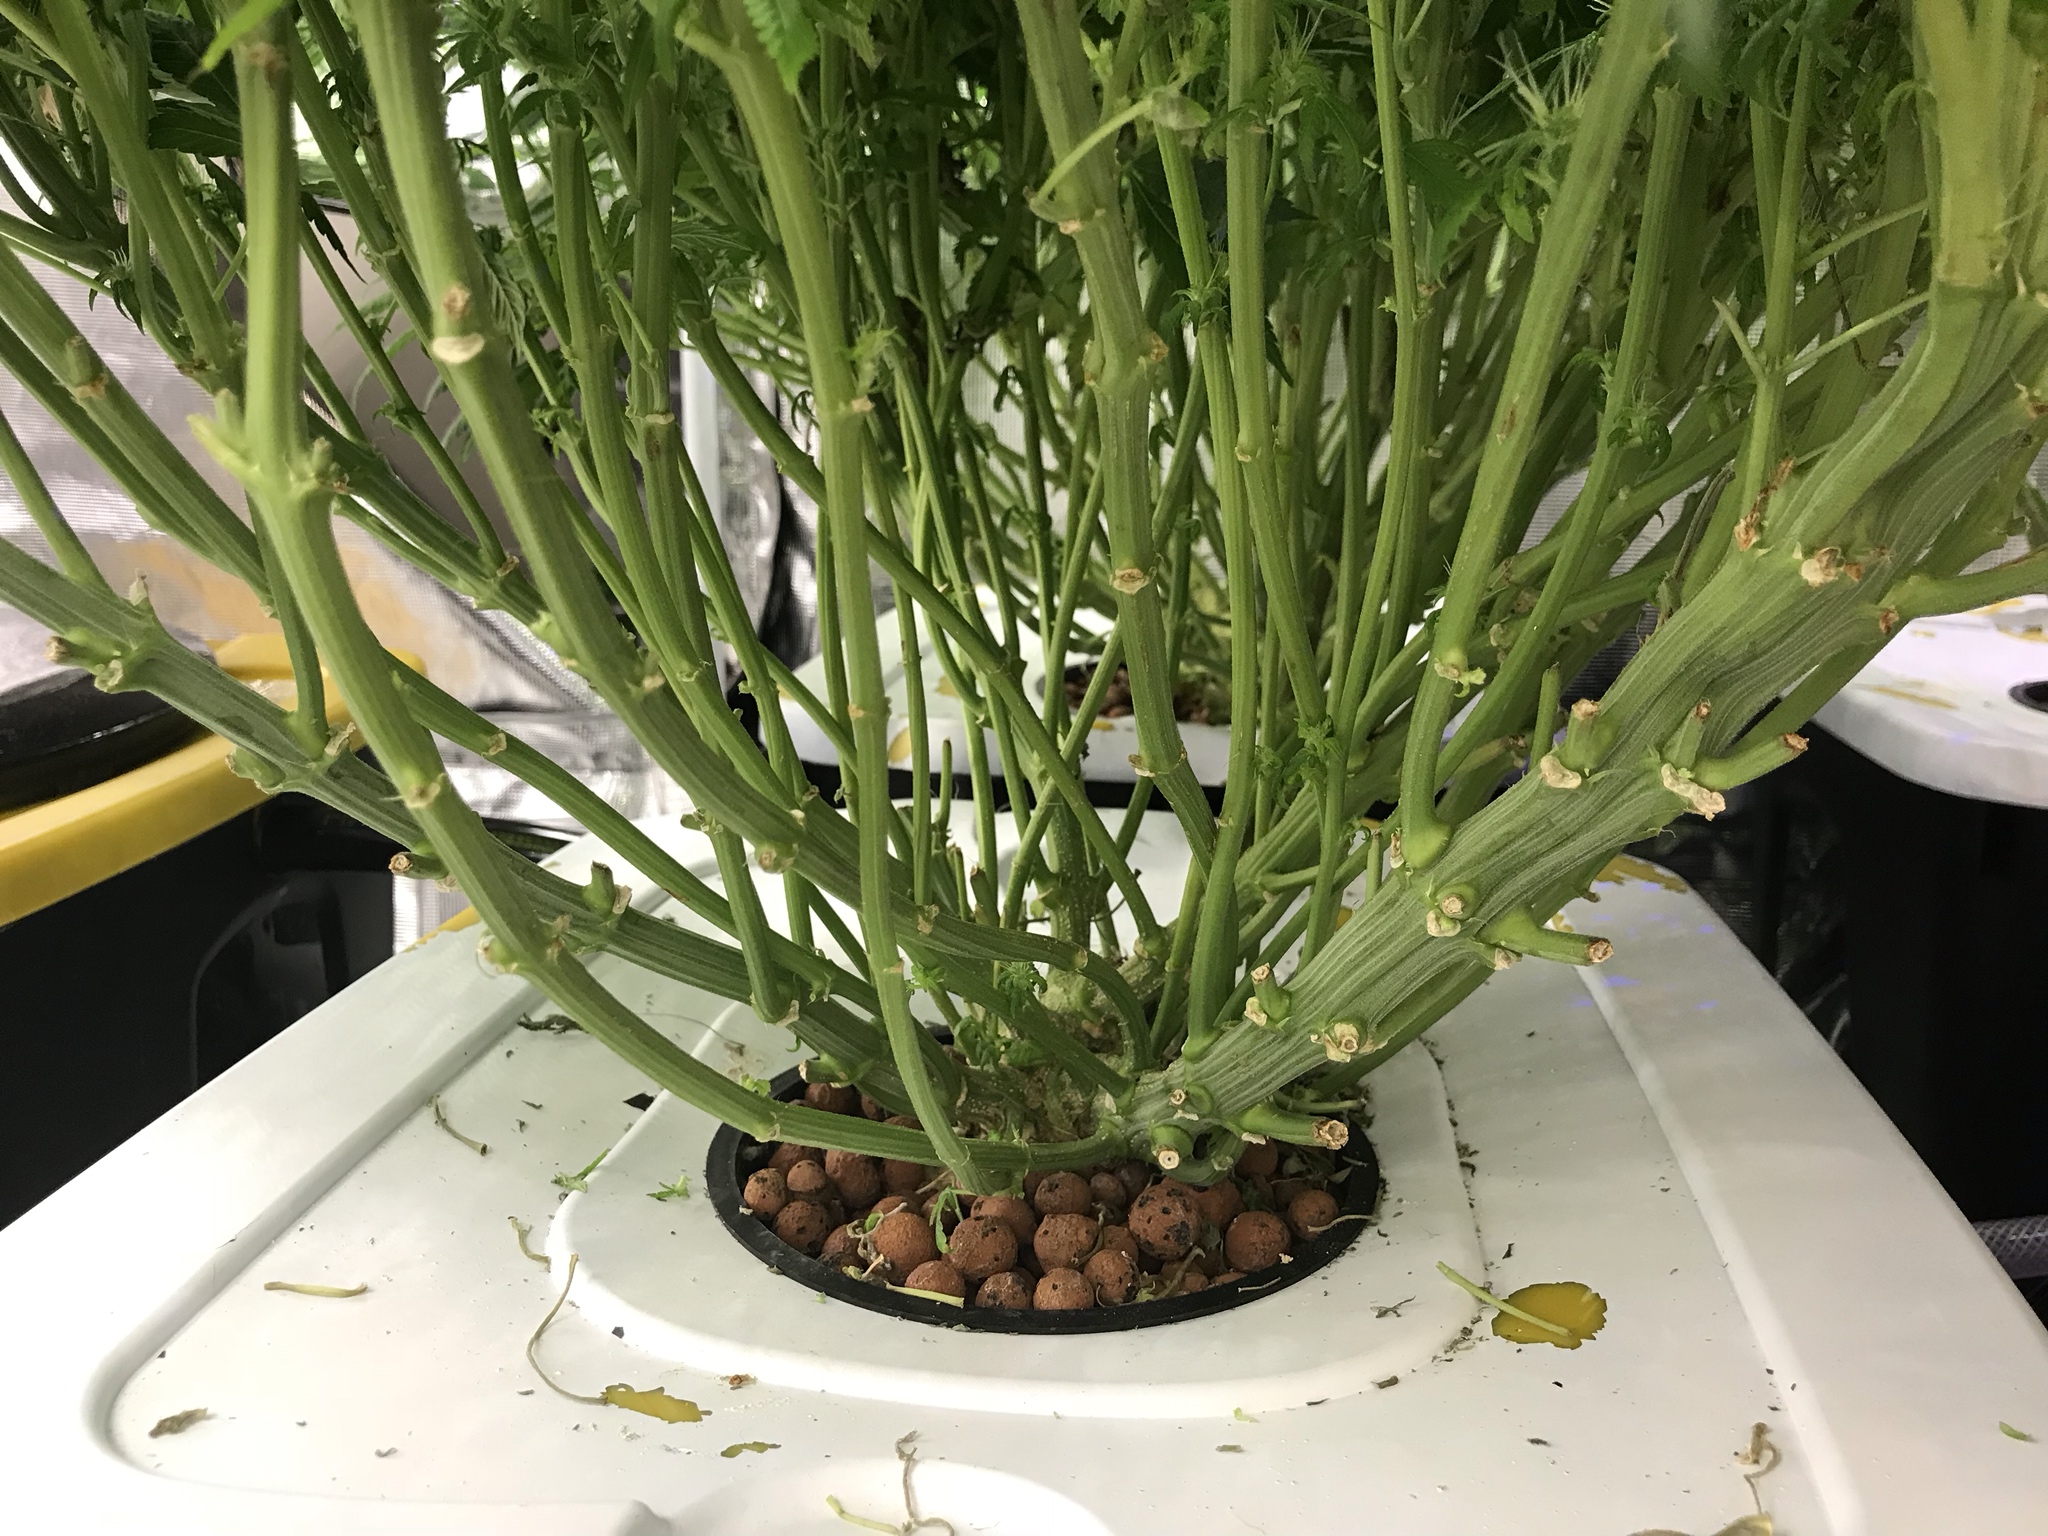
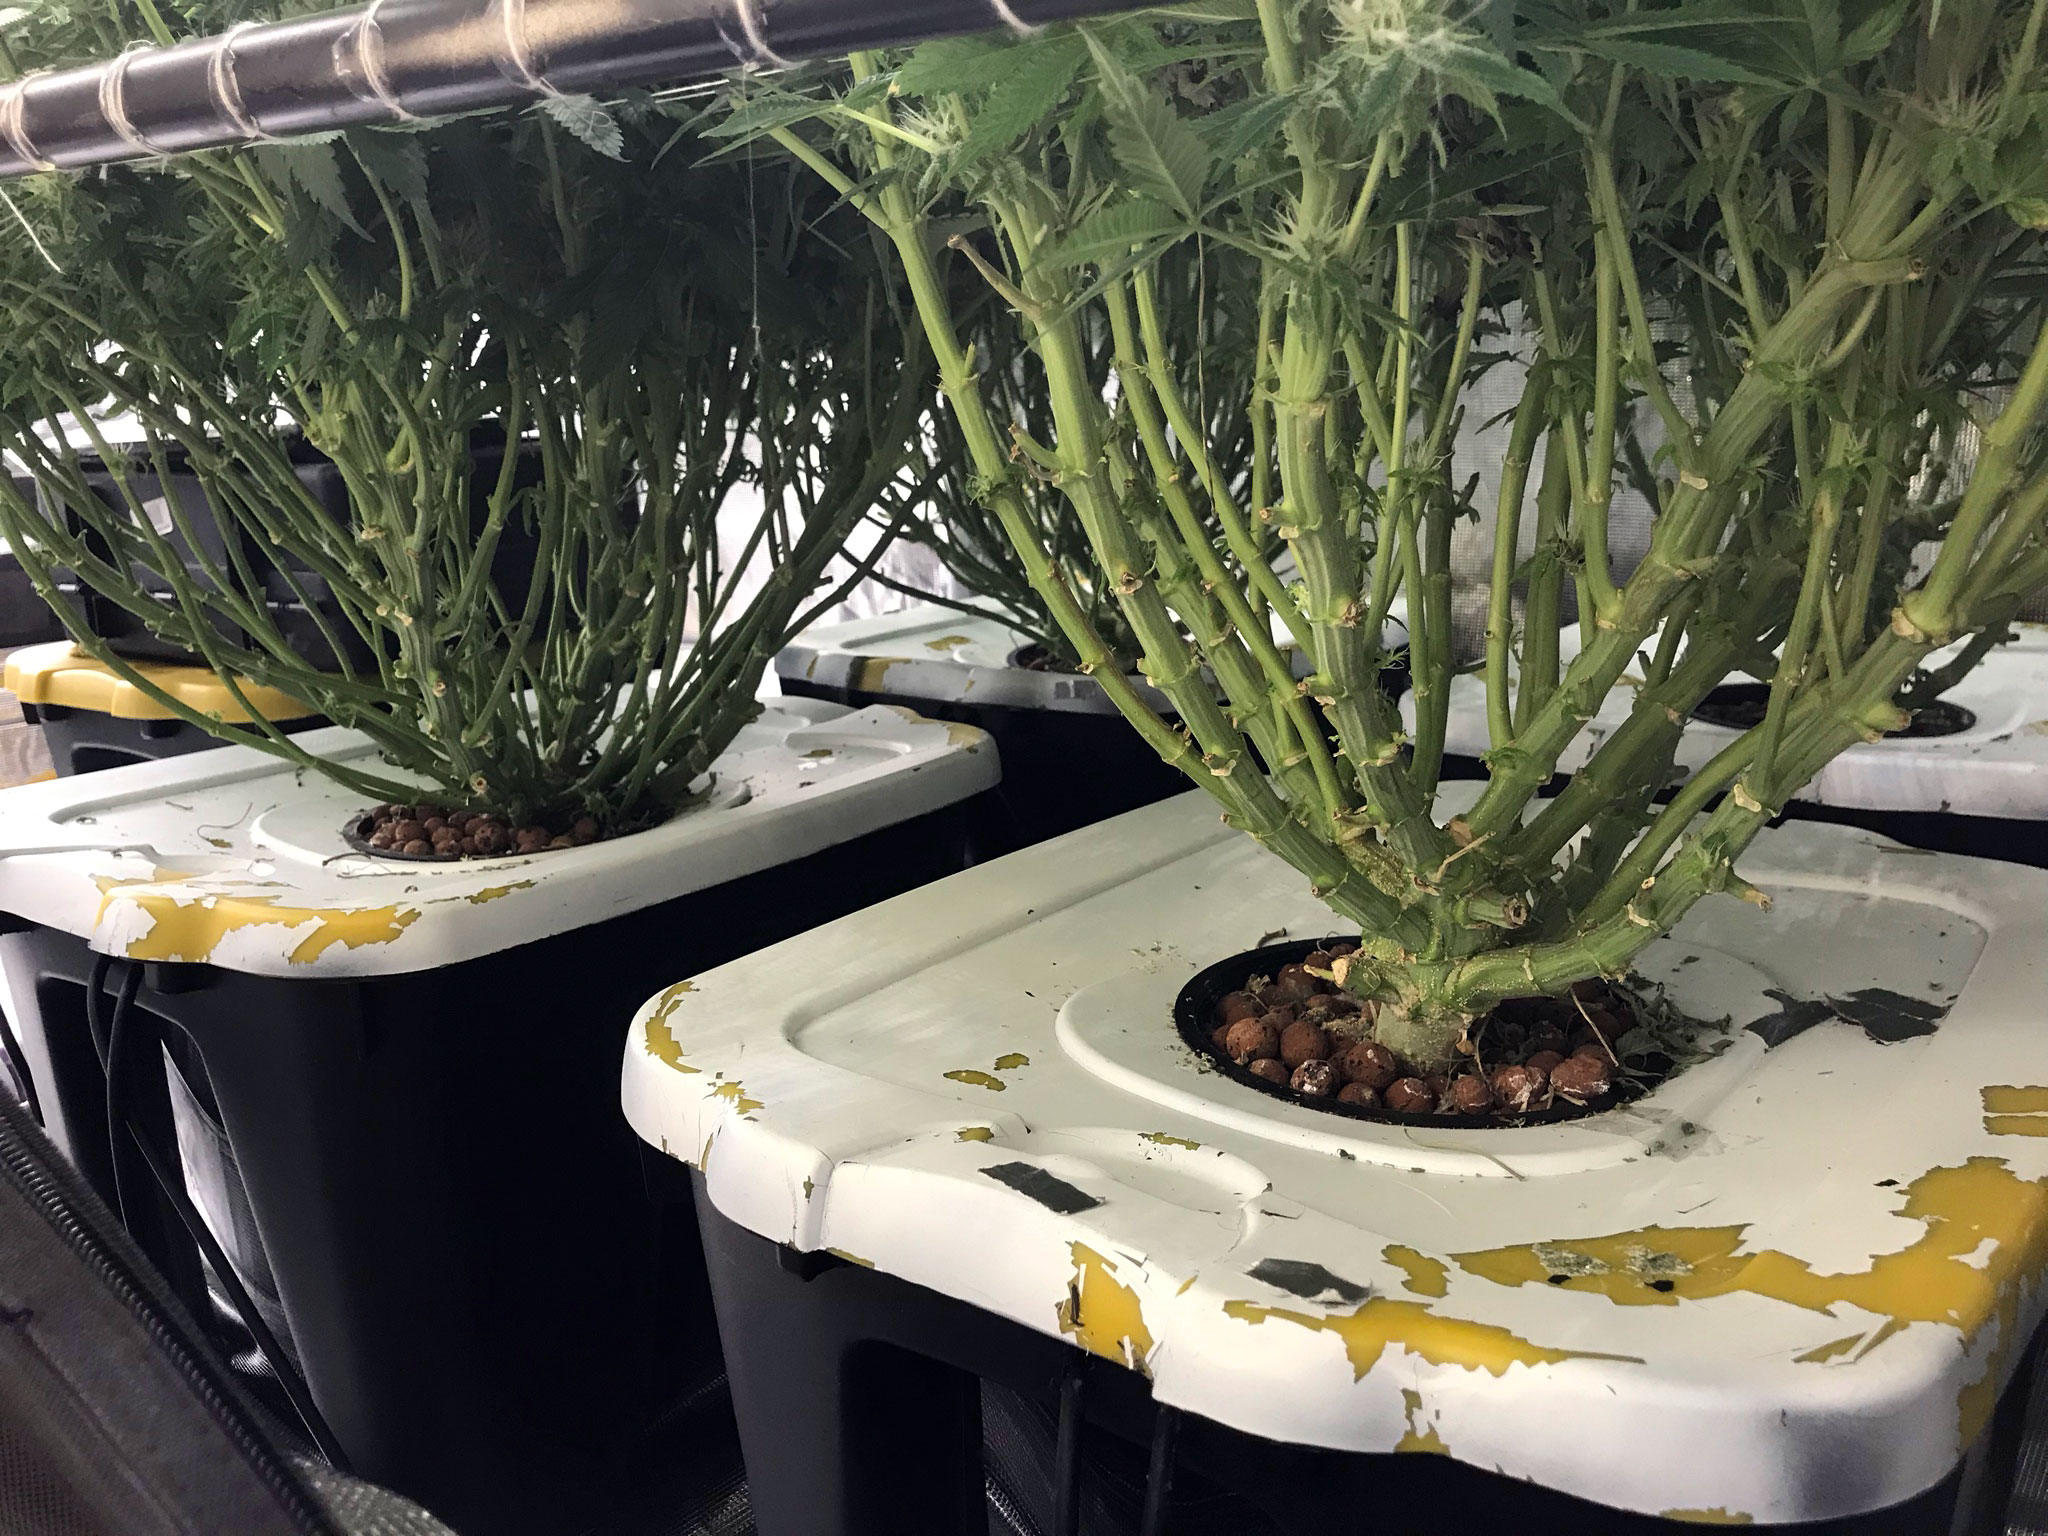
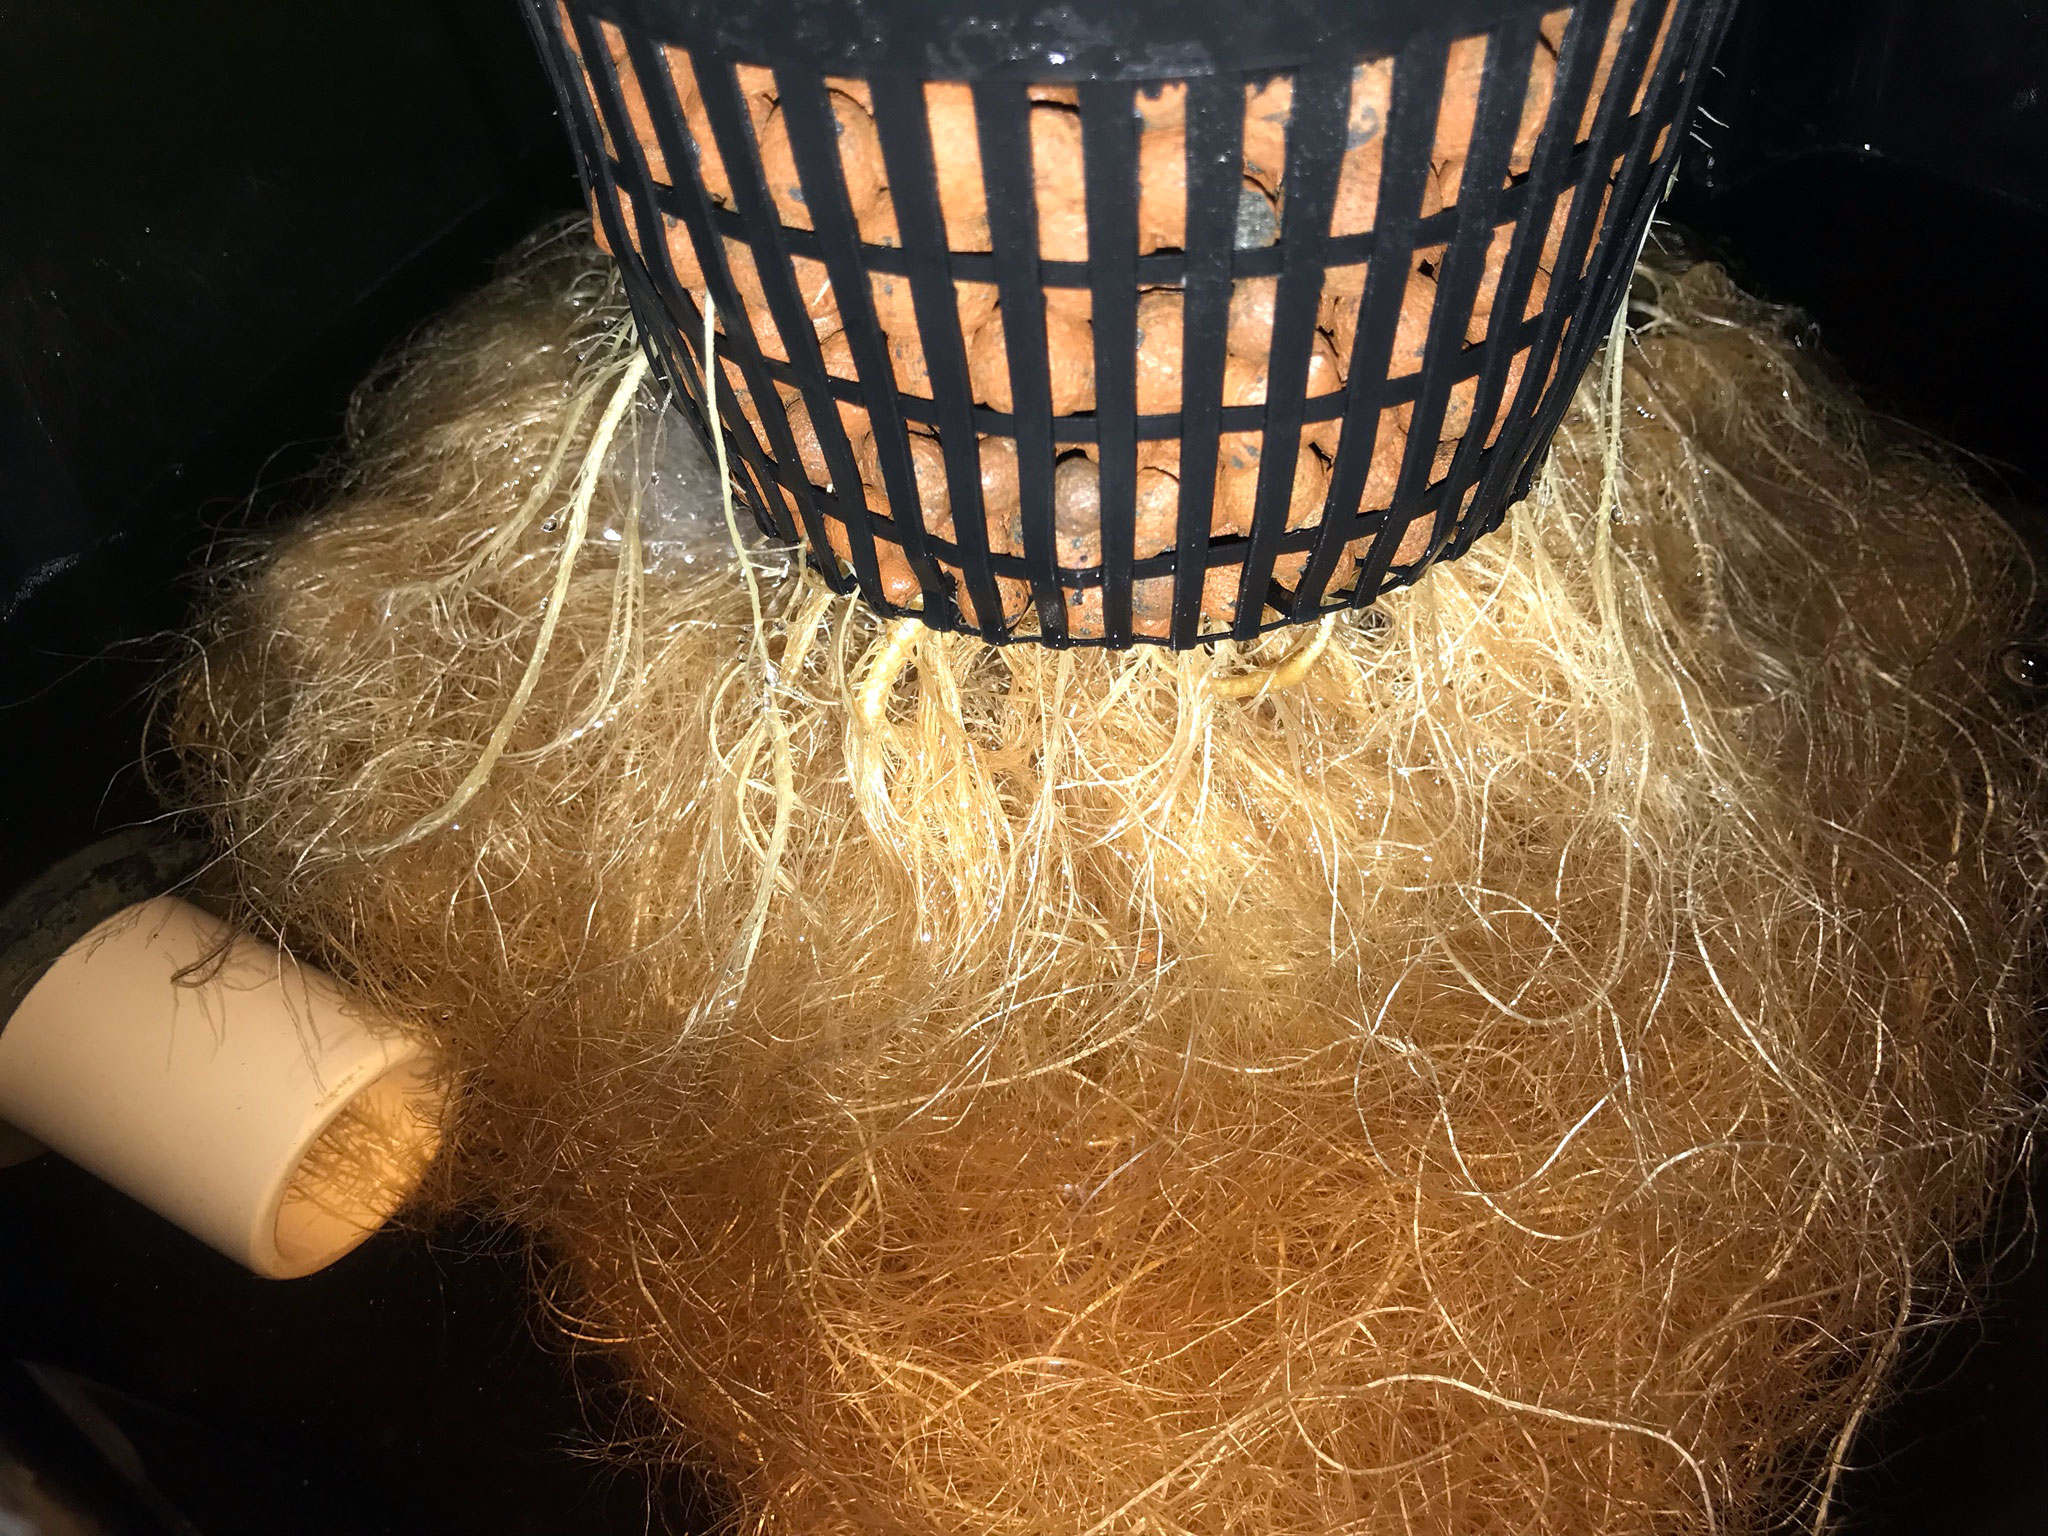
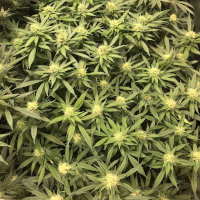
Once the system is together and you’re satisfied there are no leaks, then it’s ready for production. I used Hydroton to surround my Rockwool cubes and support them in the net pots.
You will need to rinse the Hydroton thoroughly. It gets quite dusty in the bag. I put the Hydroton in the net pots and ran water through until it ran clear, but if you’re going to use the whole bag, just open the top and poke holes in the bottom and run water through the whole thing until clear. I let the Hydroton dry and then added my seedlings to the system the next day.
I soaked the clean Hydroton in PH’d water first, then if there were long roots, I fed them through the bottom of the net pot and added Hydroton, about an inch or two on the bottom of the pot, and set the Rockwool on it and gently added more Hydroton. You want the Rockwool or whatever media you're using to be a couple of inches below the top of the pot so that you can cover it with Hydroton as well.
Step 7: Complete
That’s it. Once you are this far, it’s time to let the system do its work. The first time I had the water all nuted and PH’d before adding plants, but after that, I just drained the water with a pump that goes on an electric drill. Then, refilled with water and nuted and PH’d with the plants in place. It doesn’t take long for the system to mix everything together.
Parts on Amazon
Air Pump
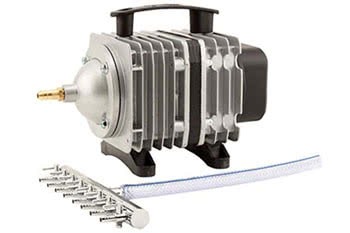
EcoPlus 1300 GPH
Water Pump
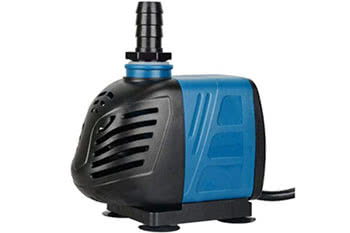
Uniclife 80-550 GPH
Uniseals
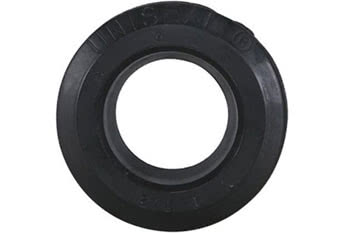
Hydro Flow Uniseal
Hydroton
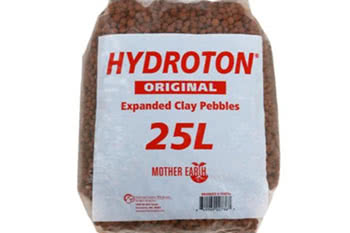
Hydroton Clay Pebbles
Air Stones
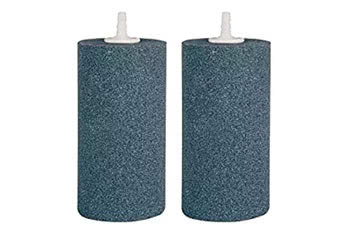
VIVOSUN Air Stones
6” Net Pots
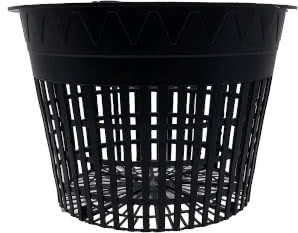
Hydro Crunch 6" Mesh Pots
Ventilation
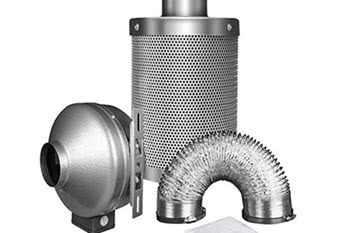
iPower ventilation combo
Drill Pump for water changes
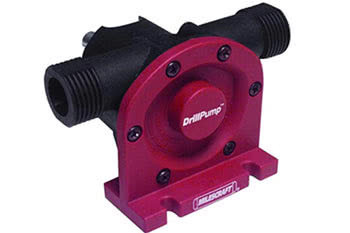
Milescraft Inc. 1314 Drill Pump
Nutes, etc.
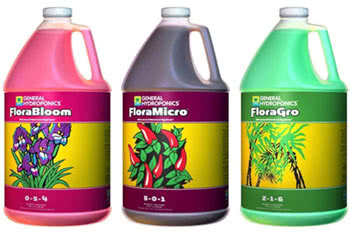
General Hydroponics Nutrient Set
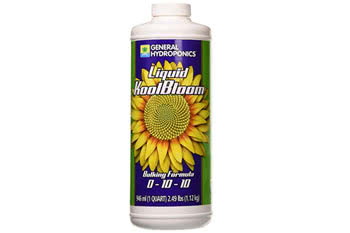
General Hydroponics Liquid KoolBloom
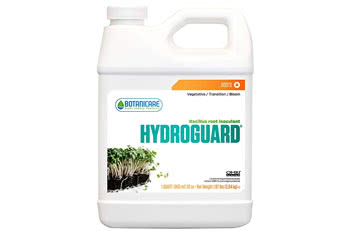
Botanicare Hydroguard

Disclaimer: We do not promote or undertake in illegal activities.
Comments
Replying to @Warren Tyler
Replying to @Warren Tyler
Replying to @Jake
Replying to @Bob Russell
Replying to @B0.ondox
Replying to @B
Replying to @B
Replying to @john
Replying to @Tech